
When connected to a converter like the Datavideo DAC-70, a GoPro Hero 4 HD camera is a powerful and versatile live production camera that can go just about anywhere, and deliver the unique coverage only a GoPro can achieve.
The new GoPro Hero 4 HD Camera has a solid boost in performance over its predecessors and is now very useful for live production scenarios, even in low light. Streaming and recording a live switch with GoPros as primary or secondary cameras brings unique shots at a great quality for your audience. In 3 simple steps, you can get your live GoPro shoot going: 1. Mount your GoPro in a low profile location; 2. Connect to power with a USB cable and feed live video out with HDMI, 3. Connect to an HDMI bridge connector for an extended HDMI run, but for over 50ft, use an SDI converter to connect to your video switcher. There is a little more to each step than the brief description above, so let’s go into more detail.
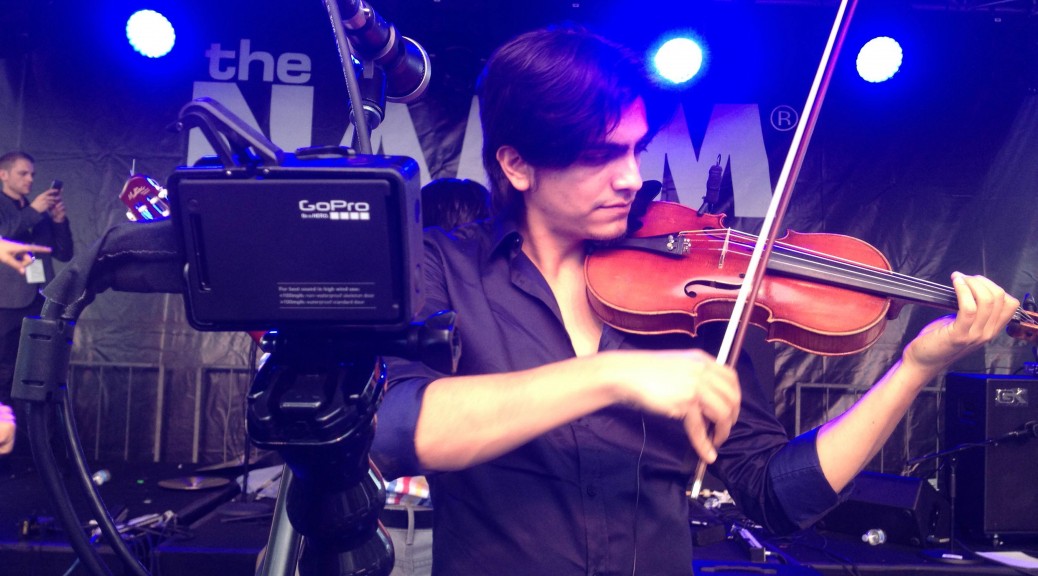
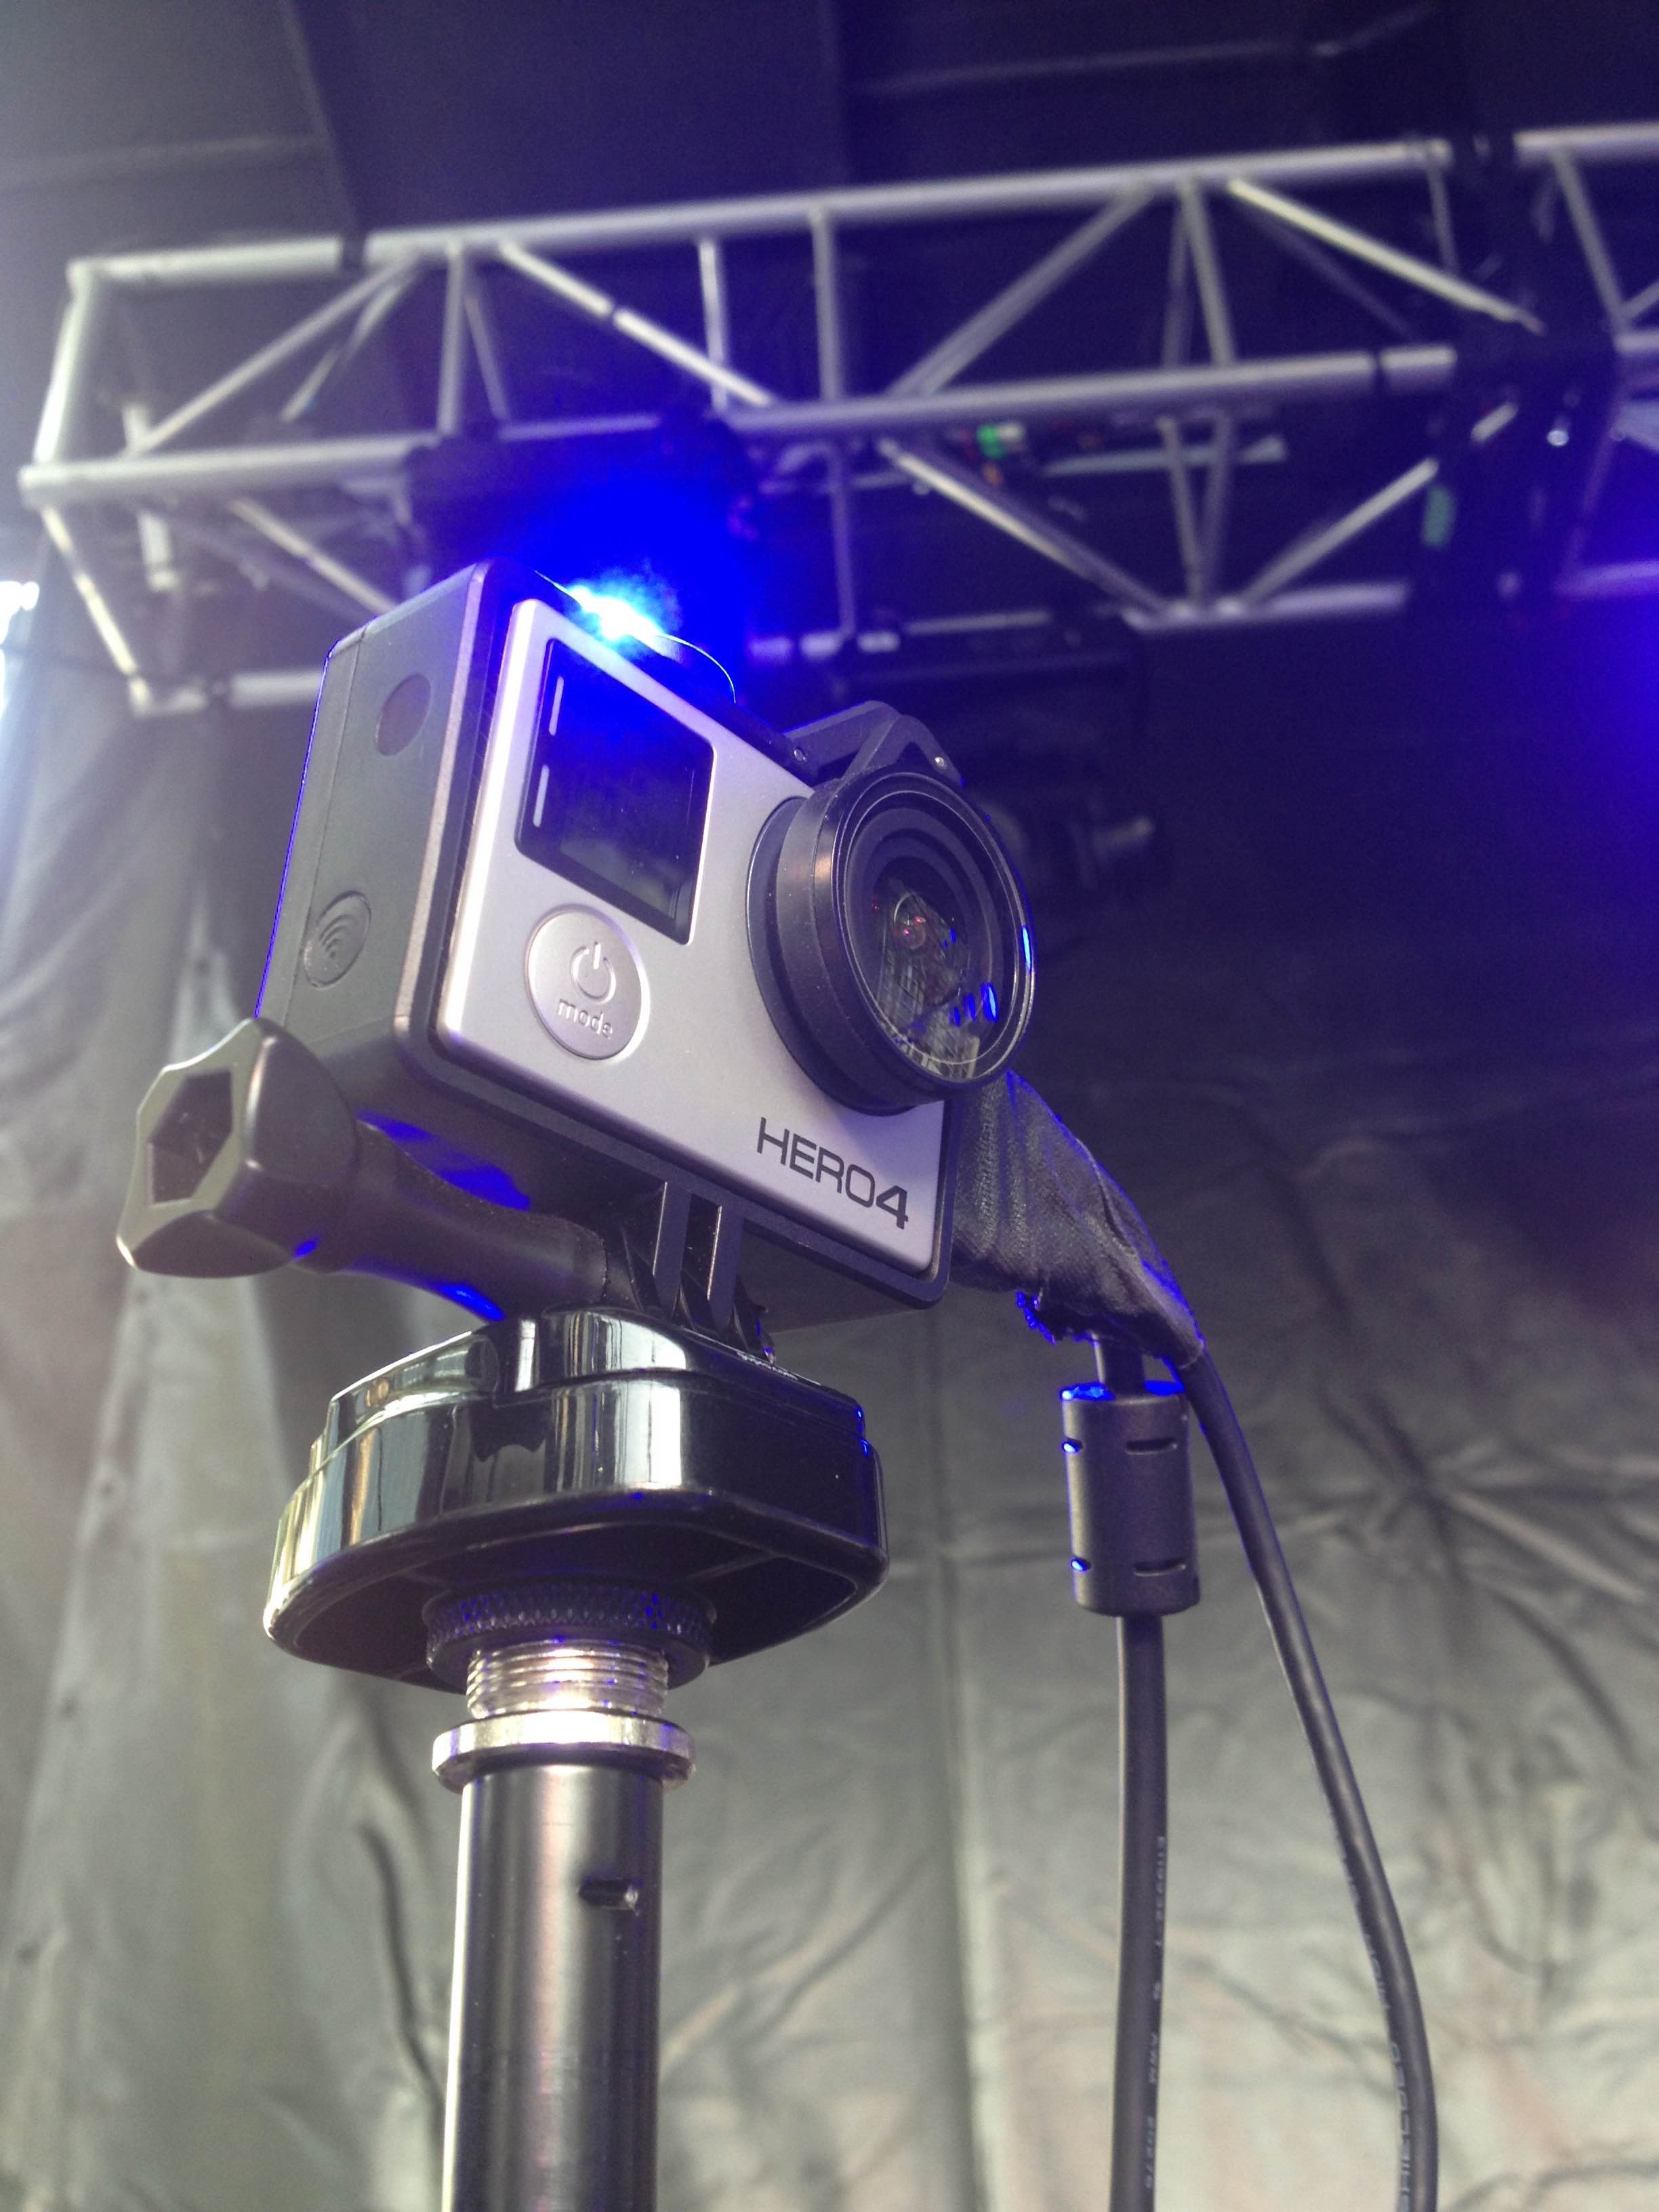
1. Mount your GoPro in a low profile set up and location
To get a great shot that is unique, think about a place a cameraman could not go, either because the the audience’s view would be blocked or it’s physically impossible.
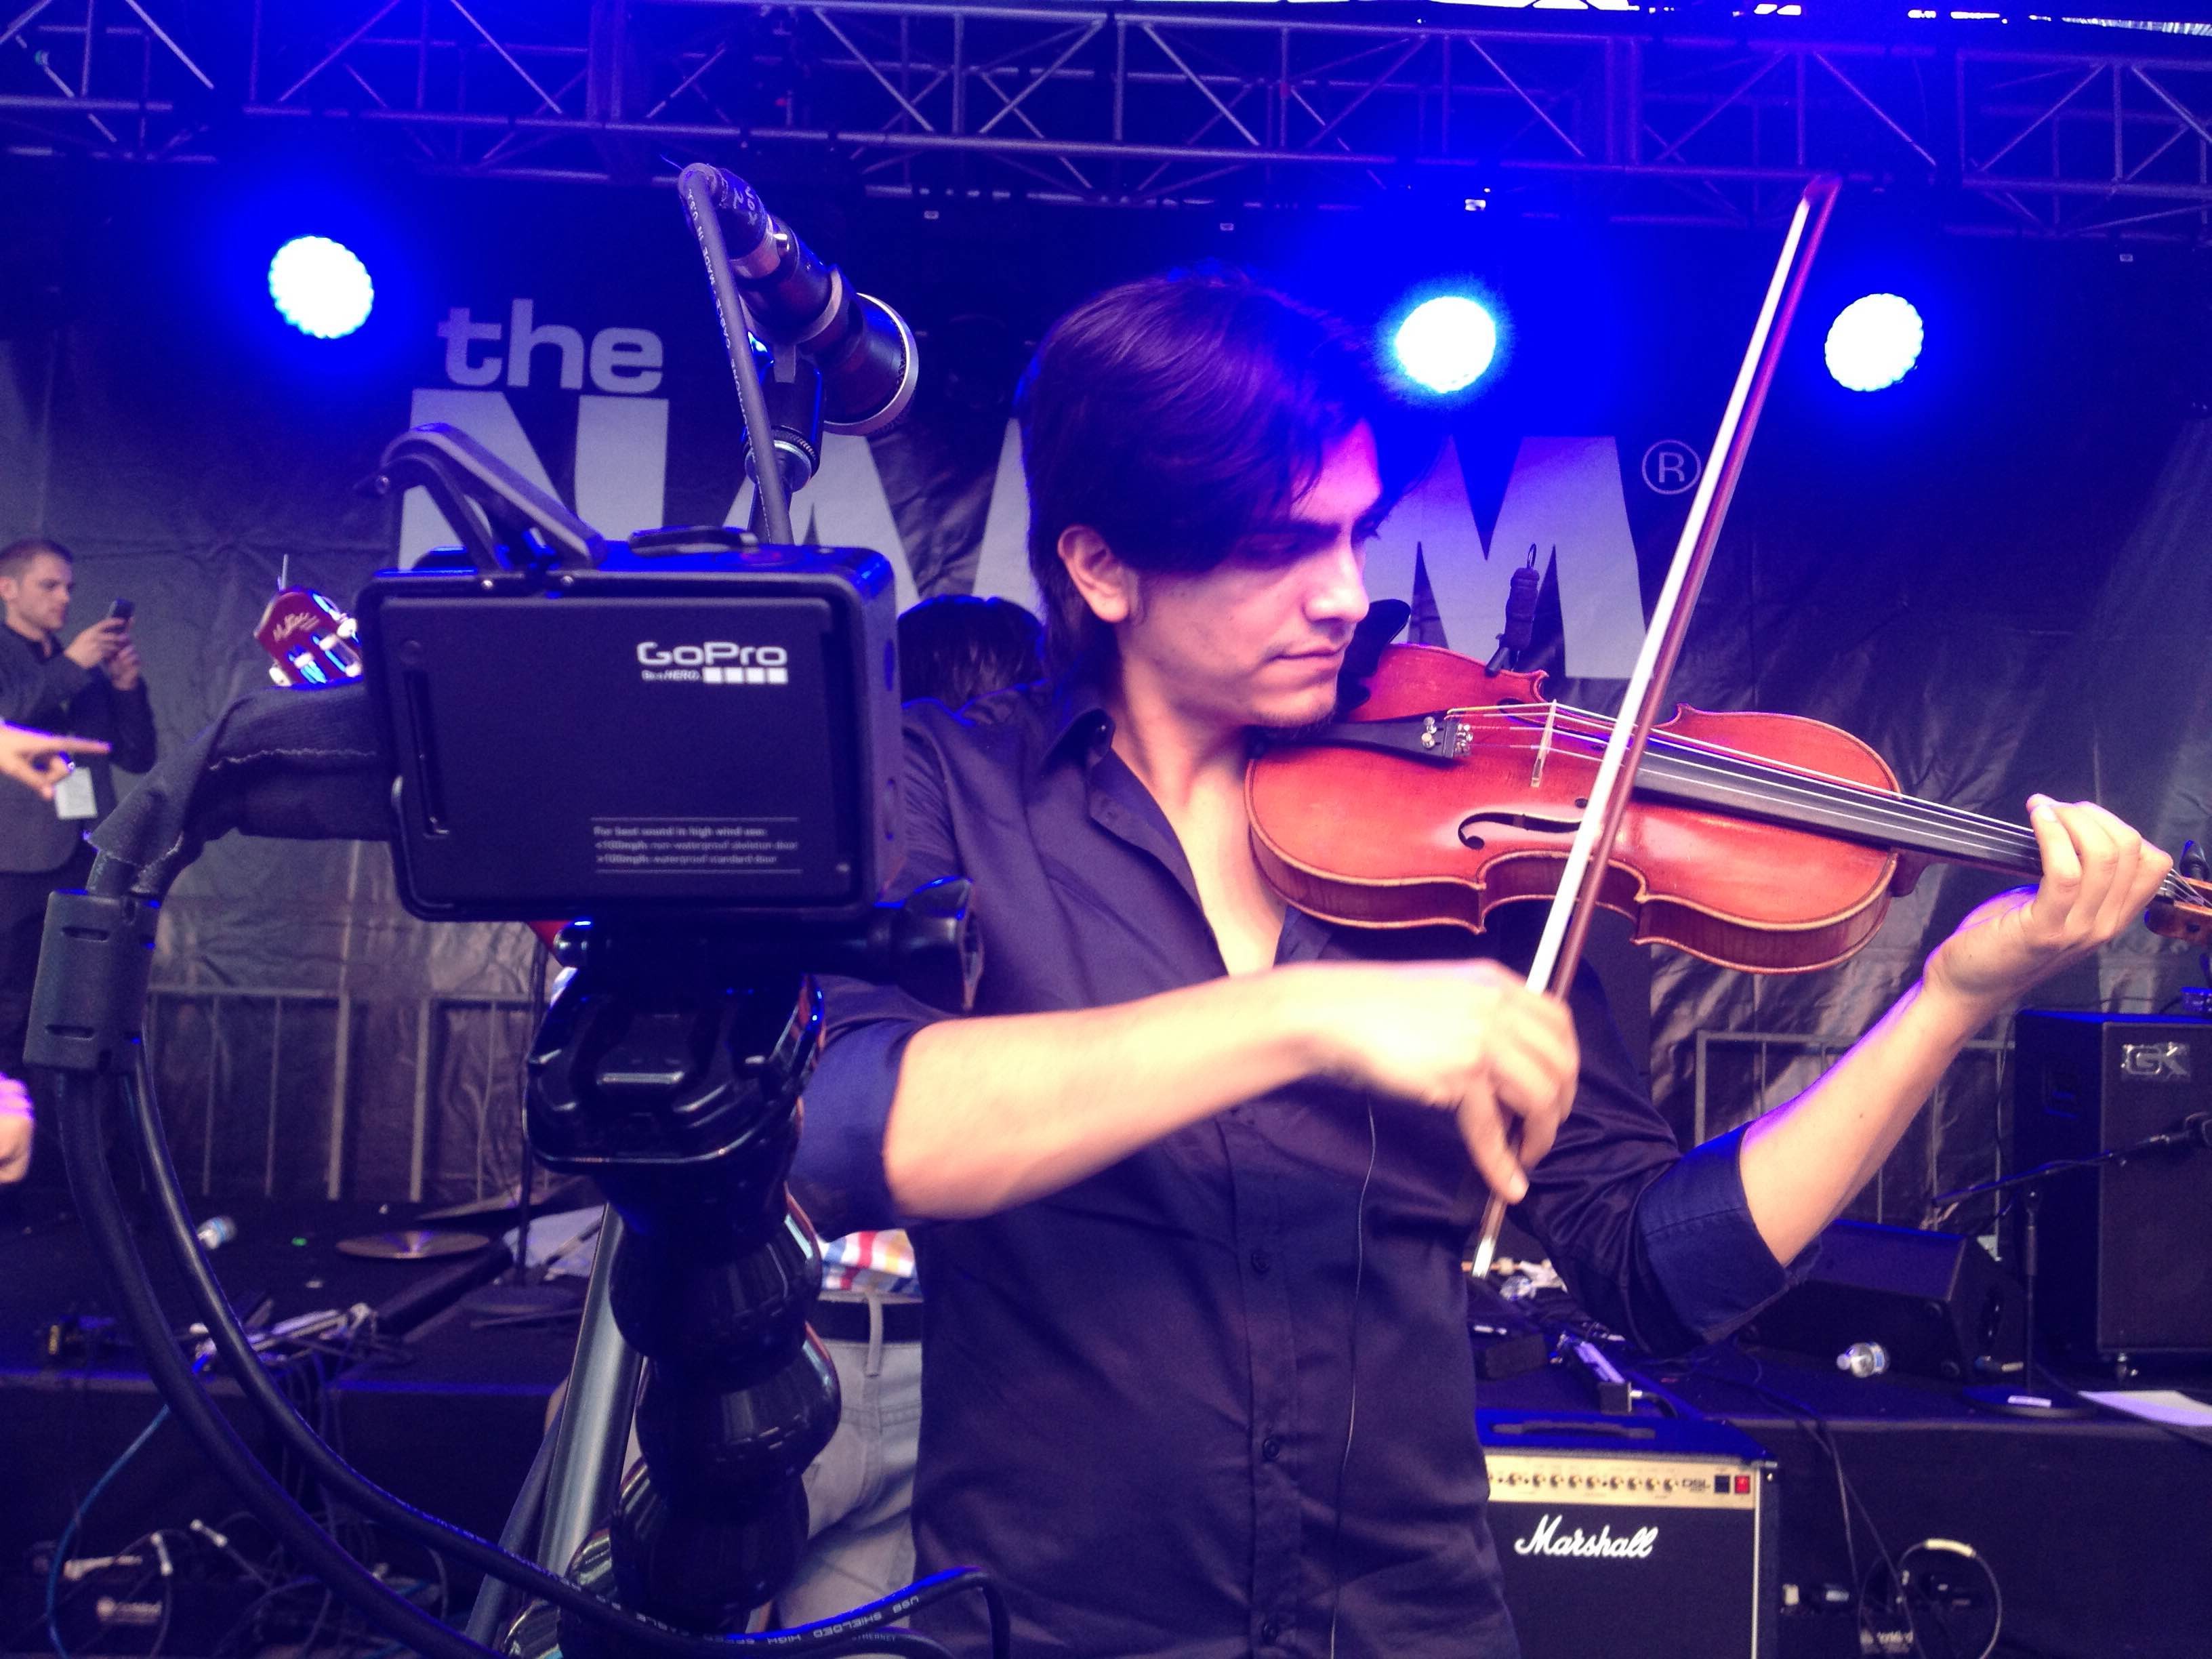
A GoPro mounted a microphone stand, as seen in the image here, is a perfect example. The black frame mount, like the skeleton mount, allows access to the cameras USB port for power, micro HDMI input for video out, and it’s audio input.
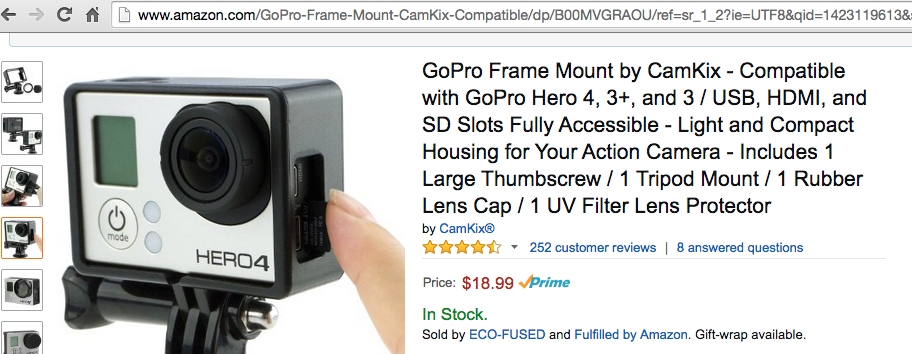
The Black Frame mount is great but can cost $40 to $50. On amazon, there are other options, as you can see below:
2. Connect to power with a USB cable and feed live video out with HDMI
We recommend purchasing a 6 foot USB cable and a 6 foot micro HDMI to HDMI cable. Anything over 10 feet is not recommended, as the USB and HDMI can get pulled out easily and a long run increases the risk of it getting tangled with someone – or something. A little gaffers tape helps secure the cable, and don’t worry about it looking tacky – most people will barely see the camera if you set it up in a good place.
Next you will need to decide how to get to your switcher. Most switchers work with SDI, considered a professional video standard, but an increasing amount work with HDMI, which has its pros (no signal loss, cheaper) and cons(shorter runs, no locking connectors). If your choice is SDI – Here is how to properly set up a GoPro Hero 4 for a live shoot, and connect to an HDMI to HD-SDI converter.
First, find a good place to place your converter and connect your GoPro’s HDMI cable to the DAC-70. Use the DIP switch instructions on the back to set up the proper resolution frame rate and output to your switcher. Then connect your SDI cable, power, and you are all set. A green light indicates a video signal is going into the converter from your GoPro.
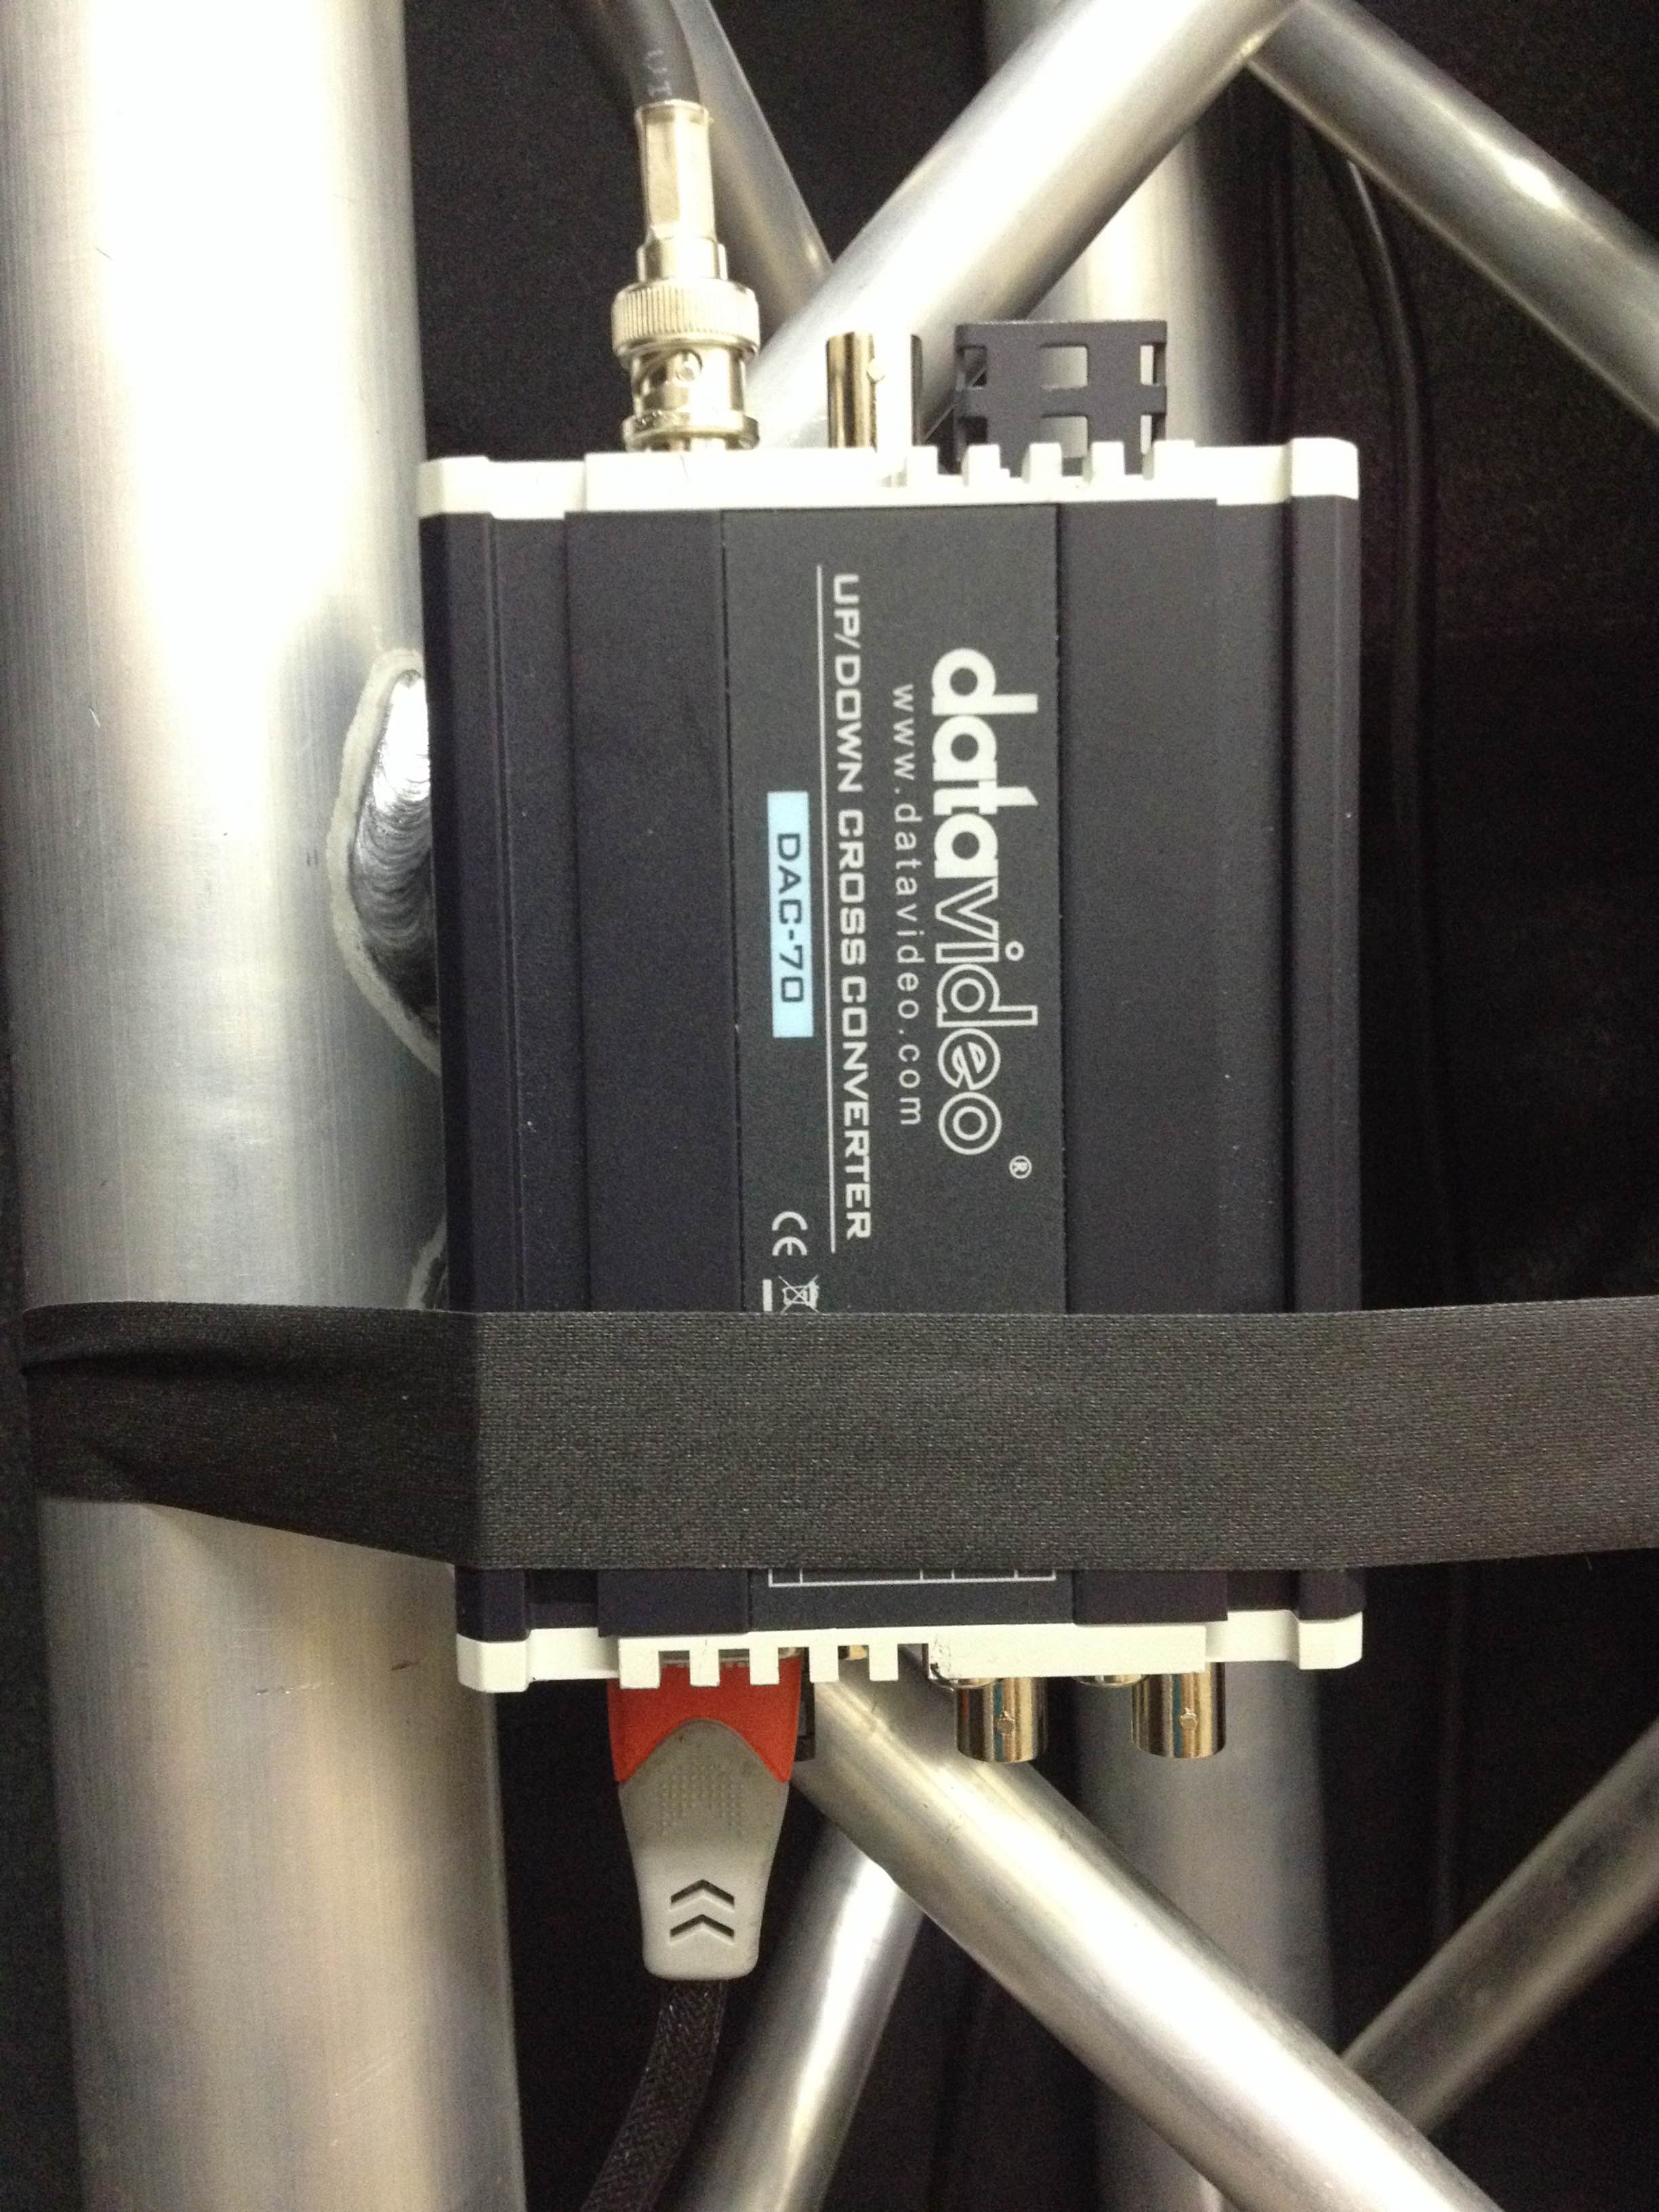
Gaffers tape is once again useful to secure everything in place.
The Datavideo DAC-70 is not just an HDMI to SDI converter. It also scales resolutions up and down, embeds external audio via stereo inputs, outputs two SDI channels that give you more options for monitoring or ISO recording, and most importantly: It includes a built in Proc Amp for color correction. This means you can adjust the saturation, contrast, hue, and more on your GoPro’s video signal to help match to other cameras in your workflow or some basic color correction and white balance. You will find the DAC-70 to be a swiss army knife of sorts for any live production. From here, your SDI cable run can be up to 300ft with no problem.
Long Cable Runs: HDMI
If your switcher has an HDMI input for your GoPro(s) and is less than 100ft away, you can do an SDI cable run. But…ever heard of gold-plated HD-SDI cables? SDI has a standard of quality, while HDMI does not. There are many gimics out there, but Aurum and Blue Rigger have reputations for making reliable HDMI cables. Many users have reported no signal loss on their 100ft cables, and the Aurum cables even come with signal boosters. However, long HDMI cables are not as easy to coil at the end of a shoot and are far less durable than SDI, so you may want to consider SDI for your longer cable runs. SDI will have no signal loss up to 300 feet.
It’s all a matter of preference. HDMI has a limited cable run length but is much cheaper and arguably easier to set up. HD-SDI comes with a locking connector that won’t fall out in the inevitable chaos of cabling that is created when video people gather front of house. The very short HDMI cable from your GoPro to a converter is a controlled situation, but in the front of house where your equipment is set up, HDMI will fall out just by looking at it in a funny way. What ever your choice, remember: there is no signal quality difference between HDMI and SDI, and the GoPro is the real hero here, giving your audience some unique angles! To see how to connect to your switcher, like the Datavideo HS/SE-2200 read this Live Production Blog article.
I have a hero 3 black and it works with hdmi out to Aja haj5 hdmi to sdi into a black magic atem TV swithcher. I tried a hero 4 silver and it did not work when connected directly to the atem TV nor with the Aja converter. So wondering if this would work as the switcher does not see gompro 4 shen connected directly to the swithcher via hdmi.
Has anyone tried this setup with a go pro 4 and atem TV?
I tried with gopro hero4 black, several hdmi to sdi converters, as Blackmagic Design CONVMBHS24K Mini Converter, Decimator MD-HX HDMI/SDI and AJA HA5 HDMI to SDI/HD-SDI, using Blackmagic SWATEMTVSTU ATEM Television Studio SDI & HDMI 6×6 Switcher, but did not working, I just wondering if the Datavideo DAC-70 (US$ 500) will really works?
Hello EDSON, I am happy to inform you that yes indeed the Datavideo DAC-70 does work with the GoPro Hero 4 Black, it is even on their website as a supported converter!
So just had a breakthrough with getting my GoPro Hero 4 with my Atem Switcher. Check out this youtube video to show how: https://youtu.be/9A94J8lAceI
Just a GroPro Hero 4 Silver to Lilliput HDMI LCD Video Monitor (used for DSLR’s), straight into an HDMI port and it works. The monitor has an HDMI in and out, and it turns the 1080p into 1080i and works perfectly. It also works with converter boxes into the SDI ports as well.nn1nn1nn1nn1nn1nn1
I am trying to run two go pro 4s from a dyno cell into a pc. will it work if i use an HDMI to USB converter ? the DVI input on the monitor is already being used. we’re trying to hook it up so that we can just switch from PC sreen to what the camera is seeing. Im not explaining it well I know. but do i have to add anything to it or will it work with just the converter? thanks JT
If I have two computers (a macbook pro and a windows desktop) and now have two monitors (both support displayport and HDMI) would it work to have this HUB connect to the mac via thunderbolt/usb-c and connect the monitors w DP and then use a KVI switch w USB 3.0 connected to keyboard and mouse and then connect the switch also to the windows PC and then use HDMI on the monitors for the PC?